
Before you start
-
Admins
A standard agreement with GetVerified for VerifyBiz comes with access to the web-based portal. Each organisation is allocated the number of Users confirmed in their agreement - one of the Users can be nominated to hold Admin Rights. The Admin role is able to add and manage Users on behalf of the organisation.
This guide documents the steps to set-up the Admin role.
-
Number of users
Every organisation recieves two free Portal user registrations. Before you onboard additional users, please check your agreement to avoid unexpected charges. If you need additional Admin Users, please contact us.
-
Whitelist the URL
Request your technology team to whitelist the url: www.obconnect.io so your firewalls don’t restrict access to the website.
-
GetVerified and obconnect
GetVerified's VerifyBiz Confirmation of Payee service is powered by our vendor, obconnect. When setting up an administrator or a user, you can expect communications and URL addresses which include the name, obconnect.
![]()
Step by Step Guide to Registration
1. Email GetVerified with your nominated Admin User details.
We will need:
- Their Full Name, and
- Email Address
Send these details as an email request to set up a new VerifyBiz Admin User to: support@getverified.co.nz
2. Your Admin User will then receive a 'password change request' email.
We enter the information you've shared into the system and the people nominated will receive an email which looks like this:
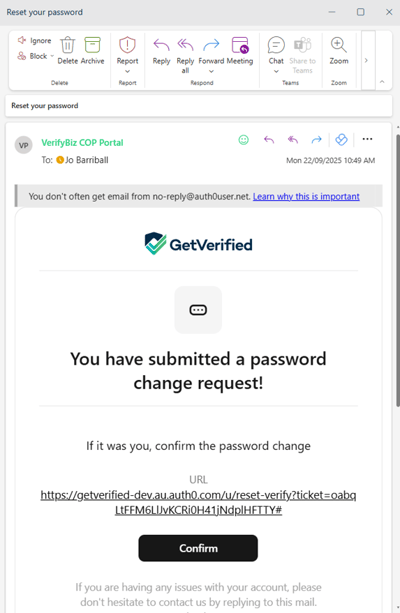
3. The Admin needs to click 'CONFIRM' which will open a web browser and go to a change password screen.
If this doesn't appear then hit the "Forgot my password" button for the screen below to appear.
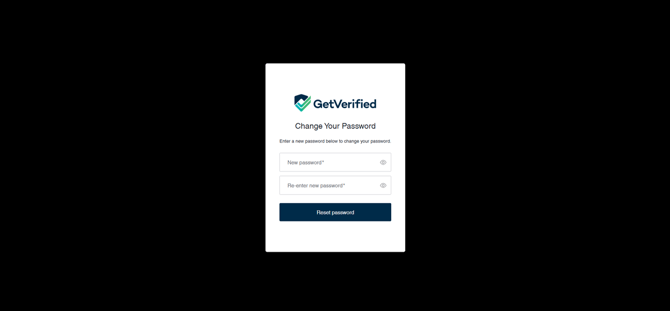
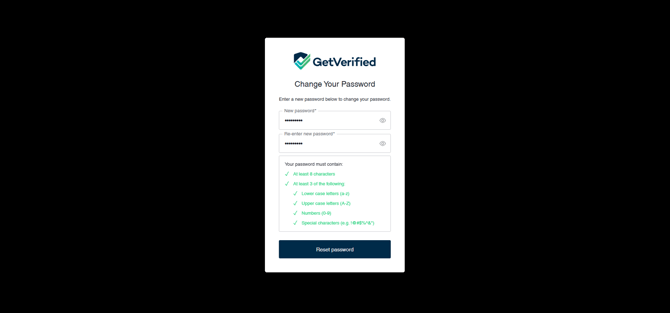
4. Reset/set-up a new password
We encourage you to:
- Use a password with over 12 characters
- Use regular and special characters
- Never reuse a password
When complete, the Admin should see the screen below.
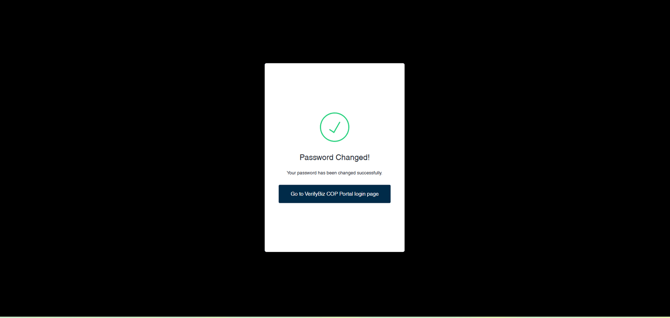
5. obconnect will send you a VerifyBiz URL link that is unique to your organisation.
Click on the link provided by obconnect to begin the authentication and log in process.
All Users will use the same link to access VerifyBiz. Save it to your favourites so it’s easy to find later.
Logging in for the first time
To sign in and use VerifyBiz, you will need access to an Authenticator application. There are many two factor Authentication (2FA) providers on the market, which are free to use.
- 2FA for mobile: If you have a smart phone, we typically suggest downloading MS Authenticator from your App Store
- 2FA for desktop: If you do not have access to a smart phone, there are desktop options (for example: https://bitwarden.com/download/.)
1. Click on "log in" and sign in with your email and password (that you have just set up.)
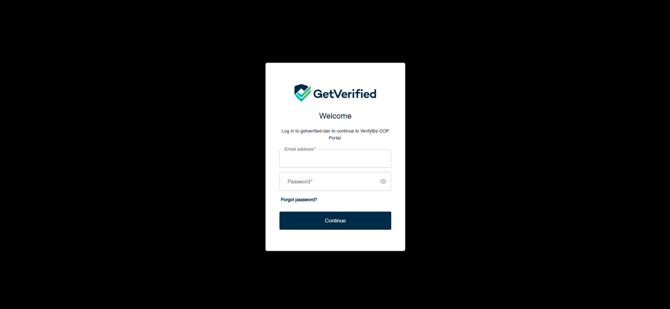
Once entered you'll be shown this screen:
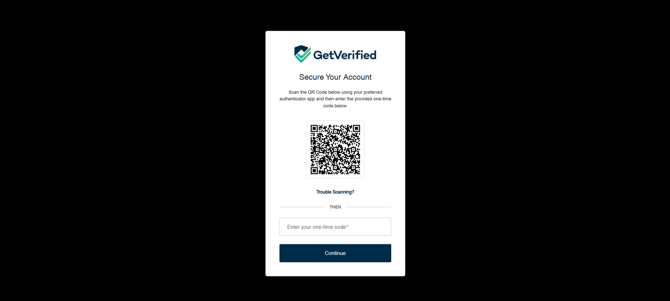
2. Once you have signed in, you will be invited to set up your 2FA authentication
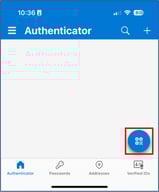
- If you are using MS Authenticator, click on the bottom right of the screen to enable you to scan the QR Code.
3. The Authenticator will provide a one-time password code. Put this code in the box provided below the QR code and click 'Continue'.
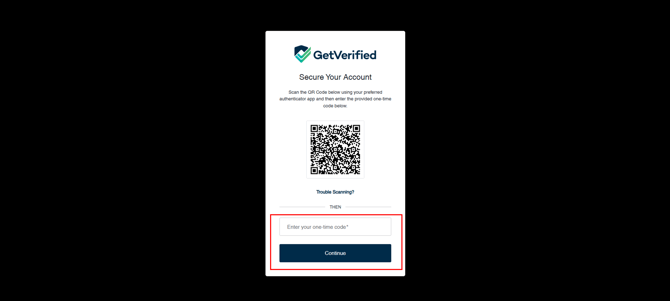
The screen could also look like this (below): Enter the code and press 'Continue'.

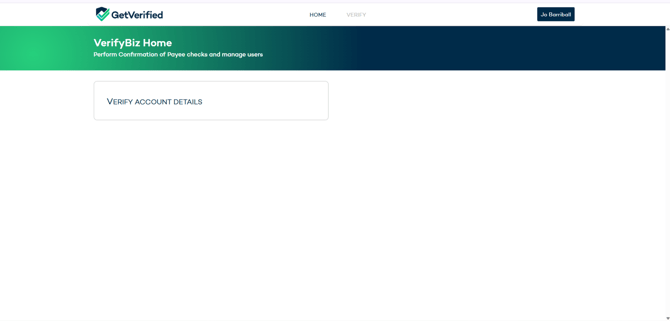
4. When you log-in, the service will take you to the VerifyBiz Landing page
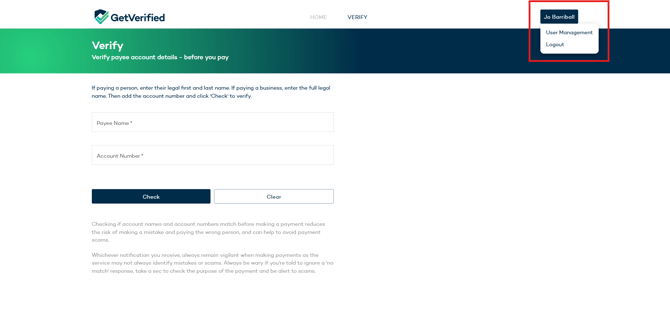
5. Click on your name in the top right, if you are set up as an Admin you will see the menu options "User Management" and "Logout".
If you are a User, your only menu option will be "Logout".
If you should be an Admin and have been set up incorrectly, please raise this with GetVerified.
More instructional guides
To set up new Users - see the Admin-Guide: Set-up New Users
To instruct Users on what to expect and do - see the: User-Guide: Instructions for logging in for the first time